 (Image via
There’s a certain thrill that comes with transforming a room. For years, the go-to method for a dramatic change was a fresh coat of paint. But what if you crave something more—a bold pattern, a unique texture, or a touch of artistic flair that paint alone can’t deliver? Enter the accent wall. It’s a designer’s secret weapon for adding personality and a focal point to any space. In the past, achieving this look meant committing to traditional wallpaper, a notoriously messy, expensive, and intimidating process involving paste, booking times, and the very real possibility of a lumpy, bubbly disaster. The fear of commitment was real.
But what if you could have all the impact without the permanence? This is where peel-and-stick wallpaper changes the game. This modern marvel offers the same stunning visual impact as its traditional counterpart but with a forgiving, removable adhesive that makes it perfect for DIYers, renters, and anyone who loves to change their mind. It’s like a giant, beautiful sticker for your wall. Creating an accent wall with this innovative product is a weekend project that can completely redefine a room, turning a boring, blank wall into a work of art. It’s your chance to be bold, experiment with design, and tell a story, all without the long-term relationship stress.
Why Choose Peel and Stick Wallpaper?
Before we dive into the "how," let's talk about the "why." Peel-and-stick wallpaper, also known as removable or self-adhesive wallpaper, has surged in popularity for several compelling reasons, especially for accent wall projects.
First and foremost is its user-friendly application. Traditional wallpaper requires applying messy paste, carefully booking the paper (letting it rest to absorb the adhesive), and then painstakingly smoothing it onto the wall. Any mistake can be difficult to correct. Peel-and-stick, on the other hand, works just like a decal. You simply peel off the backing and apply it to the wall. If you misalign a panel, you can gently pull it off and reposition it. This forgiving nature removes a huge amount of stress from the process and makes it accessible to even the most novice DIYer.
The second major advantage is its temporary nature. This is a game-changer for renters who are often forbidden from making permanent changes like painting or traditional wallpapering. It’s also ideal for homeowners who love to keep up with trends. Are you obsessed with a bold, tropical print today but worry you might prefer a subtle geometric pattern in two years? No problem. When you’re ready for a change, the wallpaper peels off cleanly without damaging the wall or leaving behind sticky residue. This also makes it perfect for less permanent spaces, like a nursery or a child's bedroom, where tastes can change quickly.
Step 1: Choosing Your Wallpaper and Your Wall
The success of your accent wall begins with a thoughtful selection process. Not all walls are created equal, and not all wallpapers will suit your space.
Selecting the Perfect Wall
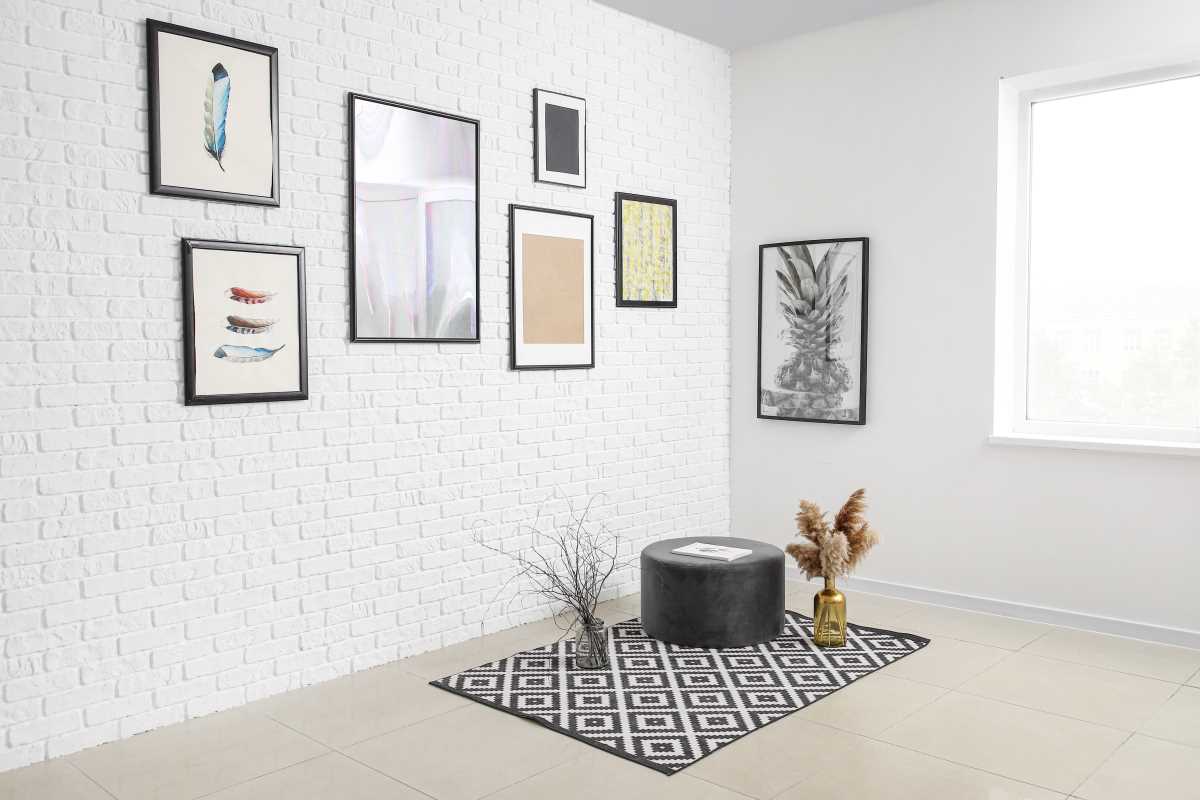
The ideal accent wall is typically the one that your eyes are naturally drawn to when you first enter a room. This is often the wall behind the headboard in a bedroom, the wall behind the sofa in a living room, or the main wall you see upon entering a dining room. A good accent wall should have no windows or doors, as these create tricky obstacles to cut around. A solid, uninterrupted wall will give you the most dramatic and clean-looking result.
Choosing Your Design
Now for the fun part: picking a pattern! The options are virtually endless, so it helps to have a plan.
- Consider the Scale of the Room: In a small room, a large-scale, busy pattern can feel overwhelming. You might opt for a smaller, more delicate print or a textured wallpaper that mimics grasscloth or linen. In a large room, you can afford to be bolder with a dramatic mural or a large, repeating geometric pattern.
- Think About Your Existing Decor: Your accent wall should complement, not compete with, your furniture and textiles. If your room is already full of color and pattern, a more subtle, neutral-textured wallpaper might be the best choice. If your room is mostly neutral, this is your chance to inject a powerful dose of color and personality.
- Order Samples: This is a non-negotiable step. The way a color or pattern looks on your computer screen can be wildly different from how it looks in your home. Light plays a huge role. Order samples of your top three choices and tape them to your chosen wall. Observe them at different times of the day—in the bright morning light, in the afternoon, and at night under artificial light. This is the only way to know for sure which one is the winner.
Step 2: Preparation is Everything
As with any painting or wall treatment project, proper preparation is the key to a professional-looking finish. Rushing this step will lead to bumps, poor adhesion, and frustration.
Clean the Wall
Your wall needs to be perfectly clean, smooth, and dry. Start by wiping it down with a damp sponge and a mild, grease-cutting cleaner to remove any dust, grime, or oils. Let it dry completely. For stubborn marks, a mix of isopropyl alcohol and water can be effective.
Smooth the Surface
Peel-and-stick wallpaper is not great at hiding imperfections. It will highlight every bump, hole, and crack. Fill any nail holes or dents with spackle. Once the spackle is dry, sand it perfectly smooth with fine-grit sandpaper. If your walls have any texture (like an "orange peel" finish), your wallpaper may not adhere properly. For the best results, you may need to skim coat the wall with joint compound to create a flat surface, or at the very least, sand down the heaviest points of the texture. Always check the manufacturer’s recommendations, as some wallpapers are designed to handle light texture.
Prime if Necessary
Most peel-and-stick wallpaper brands recommend applying their product over a wall painted with a satin or semi-gloss finish. A matte or flat paint finish can be too porous and may bond with the adhesive, causing damage to the drywall upon removal. If your wall is matte, it is highly recommended to apply a coat of primer or a satin-finish paint and let it cure for at least a few weeks before applying the wallpaper.
Step 3: The Installation Process
You have your wallpaper, your wall is prepped, and you're ready to go. Take a deep breath. This process requires patience, not speed.
Gather Your Tools
You will need:
- Peel-and-stick wallpaper
- A tape measure
- A level
- A pencil
- A plastic smoothing tool (often comes with the wallpaper) or a squeegee
- A sharp utility knife with extra blades
Start in the Corner
Begin on one side of the wall. Using your level and pencil, draw a perfectly straight vertical line from ceiling to floor, about one inch less than the width of your wallpaper roll. For example, if your roll is 20 inches wide, draw your line 19 inches from the corner. Do not assume your corner is perfectly straight—most aren't. This plumb line will be your guide for the first panel and will ensure your entire wall is straight.
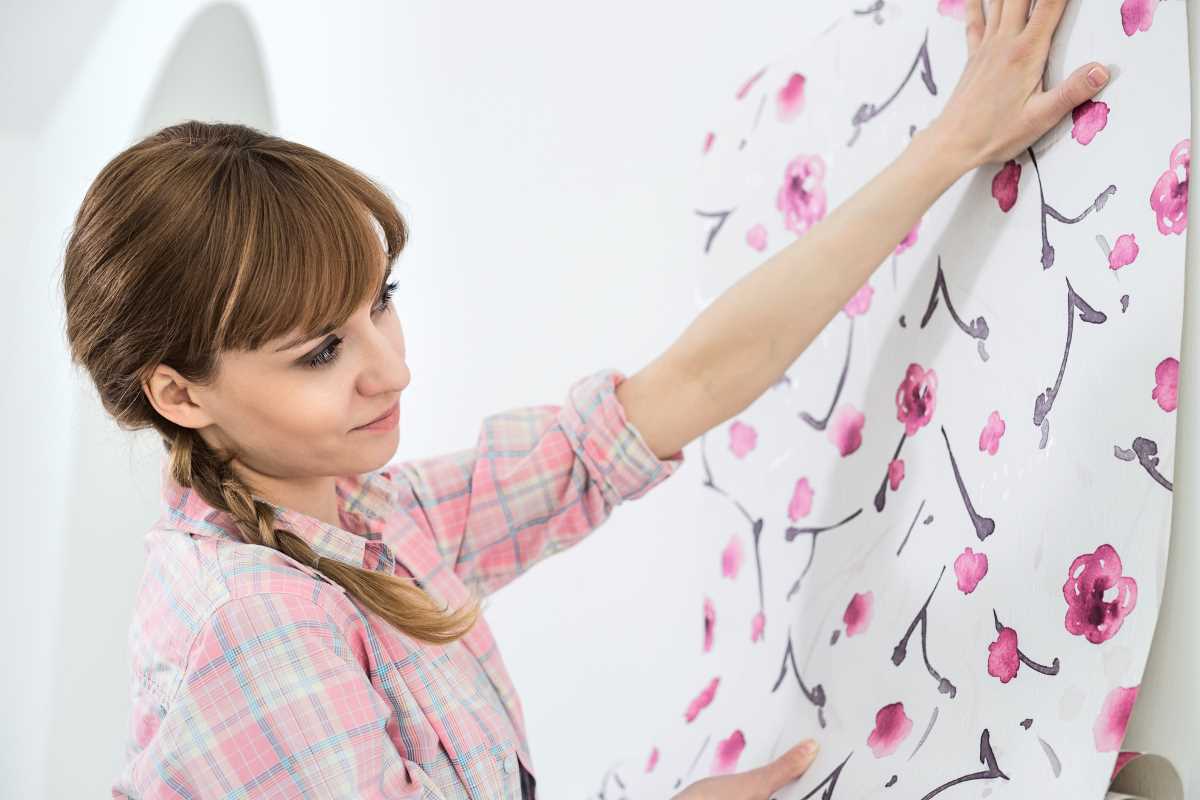
Apply the First Panel
Peel back about 12 inches of the paper backing from the top of your first panel. Align the edge of the wallpaper with the pencil line you drew, leaving a couple of inches of excess paper at the top to trim later. Press the exposed adhesive part onto the wall. Working from the center out, use your smoothing tool to push out any air bubbles.
Continue working your way down the wall, peeling back another foot of backing at a time and smoothing as you go. Working in small sections is key to preventing large bubbles and creases.
Match the Pattern and Apply Subsequent Panels
For the second panel, you need to match the pattern. Overlap the second panel slightly with the first (usually about half an inch, but check your product’s instructions) until the pattern aligns perfectly. Once it’s aligned, repeat the process of peeling and smoothing. The slight overlap will prevent any gaps from showing if the wallpaper shrinks over time.
Trim the Excess
Once all your panels are up, use your utility knife and a straight edge to carefully trim the excess wallpaper along the ceiling and baseboards. For the cleanest cut, press the blade firmly and replace it often, as a dull blade can tear the paper.