 (Image via
The idea of composting is wonderful. It’s an eco-friendly way to reduce landfill waste, cut down on kitchen trash, and create a nutrient-rich amendment for your garden that gardeners lovingly call "black gold." Many people are drawn to the concept but hesitate to start, held back by visions of a smelly, slimy, pest-infested heap in their backyard. The good news is that composting doesn't have to be a messy ordeal. With the right approach and a few simple techniques, you can maintain a clean, odor-free, and highly efficient composting system. A well-managed compost pile should smell earthy and pleasant, like a forest floor after it rains, not like a forgotten garbage can. This guide will walk you through the simple steps to compost at home without the fuss, turning your kitchen scraps into a valuable garden resource cleanly and easily.
The Foundation: Balancing Greens and Browns
The single most important secret to clean, fast, and odor-free composting is maintaining the correct ratio of "green" and "brown" materials. This balance is what fuels the decomposition process and prevents the pile from becoming a slimy, smelly mess.
Green Materials (Nitrogen-Rich): These are the wet, fresh items that provide nitrogen. Think of things like:
- Fruit and vegetable scraps
- Coffee grounds and used tea bags
- Grass clippings
- Eggshells (crushed)
Brown Materials (Carbon-Rich): These are the dry, woody items that provide carbon. They create air pockets and prevent the pile from becoming compacted and anaerobic (which is what causes bad smells). Examples include:
- Dried leaves
- Shredded cardboard and newspaper
- Wood chips and sawdust
- Twigs and straw
A healthy compost pile needs a much higher volume of browns than greens. The ideal ratio is about two to four parts brown material for every one part green material. A common mistake is to only add wet kitchen scraps without balancing them with enough dry materials. This leads to a soggy, stinking pile. The simple fix? Every time you add a bucket of kitchen scraps (greens), cover it with a generous layer of browns.
Choosing Your Composting Method
Your composting setup plays a huge role in how clean and contained the process is. You don't need a massive, open heap in the corner of your yard. Modern composters are designed for efficiency and neatness.
Enclosed Compost Bins: These are a fantastic choice for most homeowners. They are typically large, dark plastic bins with a lid on top and a door at the bottom for harvesting the finished compost. The enclosed design helps retain heat, which speeds up decomposition. It also keeps pests like raccoons and rodents out and contains any potential odors. To use one, you simply layer your greens and browns inside and turn the contents occasionally with a pitchfork or a special compost aerator tool.
Compost Tumblers: For those who want an even cleaner, more hands-off approach, a tumbler is ideal. These are sealed barrels mounted on a frame that allows you to rotate them. You add your materials, close the lid, and give the barrel a few turns every couple of days. This method is excellent for mixing and aerating the pile without any digging. Tumblers are completely sealed, making them virtually pest-proof and odor-free. They also tend to produce finished compost faster than stationary bins.
Indoor/Small-Space Composting: If you live in an apartment or have no yard, you can still compost. A worm bin (vermicomposting) is a perfect indoor solution. It uses red wiggler worms in a contained bin to break down food scraps. A properly managed worm bin is odorless and produces incredibly rich worm castings. Another option is an electric kitchen composter, a countertop appliance that uses heat and aeration to break down food scraps into a dry fertilizer in a matter of hours.
Keeping It Clean and Pest-Free
Even with the right system, a few best practices will ensure your composting journey remains pleasant.
What Not to Compost: The key to avoiding pests and foul odors is to be selective about what you add. Never put meat, fish, dairy products, oily foods, or pet waste in your home compost pile. These items are magnets for pests and produce terrible smells as they rot. Stick to plant-based materials.
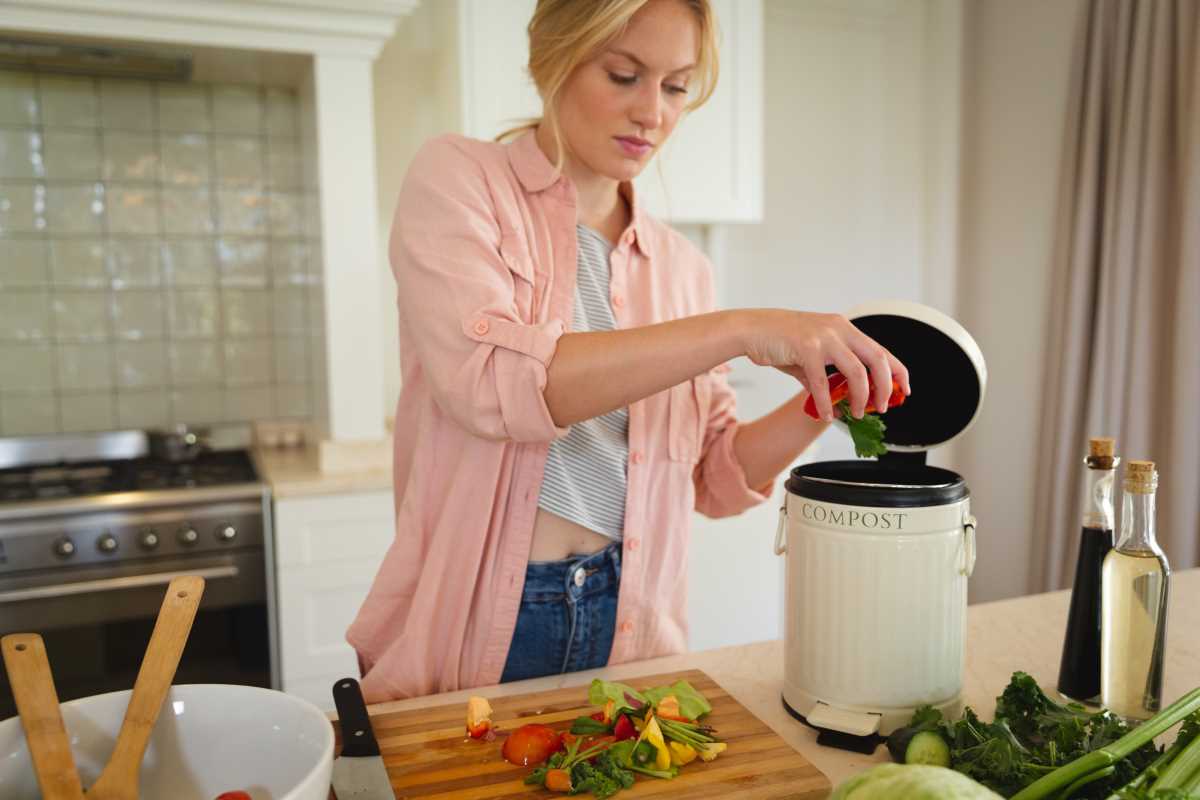
Manage Your Kitchen Pail: Use a countertop compost pail with a tight-fitting lid to collect your daily kitchen scraps. Many models come with a charcoal filter to absorb odors. Empty it into your main compost bin every couple of days before the contents start to decompose and smell. Rinsing the pail after each use will also keep things fresh.
Aerate Your Pile: The microorganisms that break down your compost need oxygen to work efficiently. A lack of oxygen leads to slow, smelly, anaerobic decomposition. If you have a stationary bin, turn the contents with a pitchfork every week or two. If you have a tumbler, give it a few spins every few days. This simple step keeps the process moving and prevents bad smells.
Monitor Moisture: Your compost pile should be as damp as a wrung-out sponge, not soaking wet or bone dry. If it's too dry, decomposition will stall. If it’s too wet, it will become slimy and smelly. If your pile gets too wet from rain or too many greens, simply add a large layer of shredded cardboard or dry leaves to soak up the excess moisture.
By following these simple guidelines, you can easily and cleanly transform your waste into a resource, proving that composting can be a neat and rewarding part of any modern household.