 (Image via
The kitchen is the undisputed champion of the modern home. It’s where meals are made, homework is done, and late-night conversations happen over a cup of tea. It is the functional and emotional center of daily life. Because it gets so much traffic, a dated or worn-out kitchen can bring down the entire feel of your house. Dark, grainy oak cabinets from the 90s or chipped, peeling paint can make even the cleanest space feel tired and uninspired. For many, the dream of a bright, modern kitchen feels just out of reach, blocked by the staggering cost and disruption of a full-scale renovation. Tearing out and replacing cabinets can cost tens of thousands of dollars and leave you without a functional kitchen for weeks.
But what if you could achieve a dramatic, magazine-worthy transformation for a fraction of the cost and over the course of a few weekends? It’s not a fantasy. The single most impactful, budget-friendly update you can make in your kitchen is to refresh your existing cabinets with paint and new hardware. This powerful combination can take a kitchen from dark and drab to bright and fabulous, completely changing its character. It's a project that requires patience and attention to detail, but it’s well within the reach of a determined DIYer. This step-by-step guide will demystify the process, giving you the confidence to tackle your cabinets and create a kitchen you truly love.
Step 1: The Critical Preparation Phase
Anyone who has ever painted anything will tell you that the final result is 90% preparation. This is especially true for kitchen cabinets, which are high-touch surfaces that have been exposed to years of grease, grime, and humidity. Rushing or skipping these prep steps is a guaranteed recipe for a peeling, chipping paint job that will break your heart in a few months. Do not cut corners here.
Remove and Label Everything
Start by emptying your cabinets completely. Then, remove all the doors and drawer fronts. As you remove each piece, label it with a system that makes sense to you. A simple method is to use painter's tape and a marker. Label the inside of each cabinet box (e.g., "top left") and the corresponding door with the same label. This will save you from a frustrating puzzle when it’s time to reassemble everything. Place all your hinges and screws in a labeled baggie so nothing gets lost.
The Deep Clean
This is the most important and least glamorous step. Your cabinets need to be spotlessly clean for the primer and paint to adhere properly. Use a high-quality grease-cutting cleaner, often called a degreaser or TSP (trisodium phosphate) substitute. Mix it according to the directions and scrub every square inch of your cabinet boxes, doors, and drawer fronts. Pay special attention to the areas around the stove and the sink, which tend to have the most buildup. After degreasing, wipe everything down with a clean, damp cloth to remove any residue and let it dry completely.
Sanding for Success
The goal of sanding is not to remove the old finish entirely, but to "scuff up" the surface. This light abrasion creates microscopic grooves that give the primer something to grip onto. For most cabinets, a 120-grit sandpaper is perfect. You can use an orbital sander for the flat surfaces of the doors to speed up the process, but you will need to sand any detailed areas by hand. Once you’re done sanding, the surface should feel slightly rough and look dull, not shiny. After sanding, wipe away all the dust with a tack cloth or a damp microfiber cloth. Dust is the enemy of a smooth finish.
Step 2: Prime for a Flawless Foundation
Primer is the magic layer that ensures your paint job will last. It serves two main purposes: it blocks stains and old wood tannins from bleeding through your new paint color, and it provides a uniform, adhesive surface for the paint to stick to. Do not use a basic drywall primer; you need a high-adhesion, stain-blocking bonding primer designed for slick surfaces.
Apply a thin, even coat of primer to the cabinet boxes, doors, and drawer fronts. If you're painting over dark wood or a dark color, you might need two coats of primer to get full coverage. For the smoothest possible finish, many professionals recommend using a high-quality paint sprayer. However, you can still get excellent results with a small, high-density foam roller for the flat surfaces and a high-quality angled brush for the detailed areas. Let the primer dry completely according to the manufacturer's instructions, then give it a very light sanding with 220-grit sandpaper to knock down any bumps. Wipe away the dust again.
Step 3: The Painting Process
Now, the moment you’ve been waiting for. The key to a professional-looking paint job is applying multiple thin coats rather than one thick one. A thick coat is more likely to drip, sag, and take forever to cure properly.
Choose the Right Paint
The paint you choose is critical. You need a durable finish that can withstand the daily wear and tear of a kitchen. The best option is a high-quality cabinet and trim enamel. These paints are self-leveling, which means they dry to a hard, smooth finish with minimal brush or roller marks. They are also highly durable and scrubbable. Popular choices include Benjamin Moore ADVANCE and Sherwin-Williams Emerald Urethane Trim Enamel.
Apply Your Coats
Using a high-density foam roller and a good brush, apply your first coat of paint. Work in a systematic way, always maintaining a "wet edge" to avoid lap marks. Let the first coat dry completely. This can take several hours depending on the paint and your climate. Once dry, lightly sand it with 220-grit sandpaper and wipe away the dust. This sanding between coats is what creates that super-smooth, factory-like finish. Then, apply your second coat. For most colors, two coats will be sufficient, but some lighter colors may require a third.
Step 4: Selecting and Installing New Hardware
With your cabinets painted and curing, it’s time to choose the hardware. This decision has a huge impact on the final style of your kitchen.
Choose Your Style
The options for knobs and pulls are endless.
- For a modern look: Consider sleek, simple bar pulls in a matte black or stainless steel finish.
- For a classic or farmhouse look: Cup pulls for drawers and simple round knobs for doors in a brushed nickel or oil-rubbed bronze finish are timeless choices.
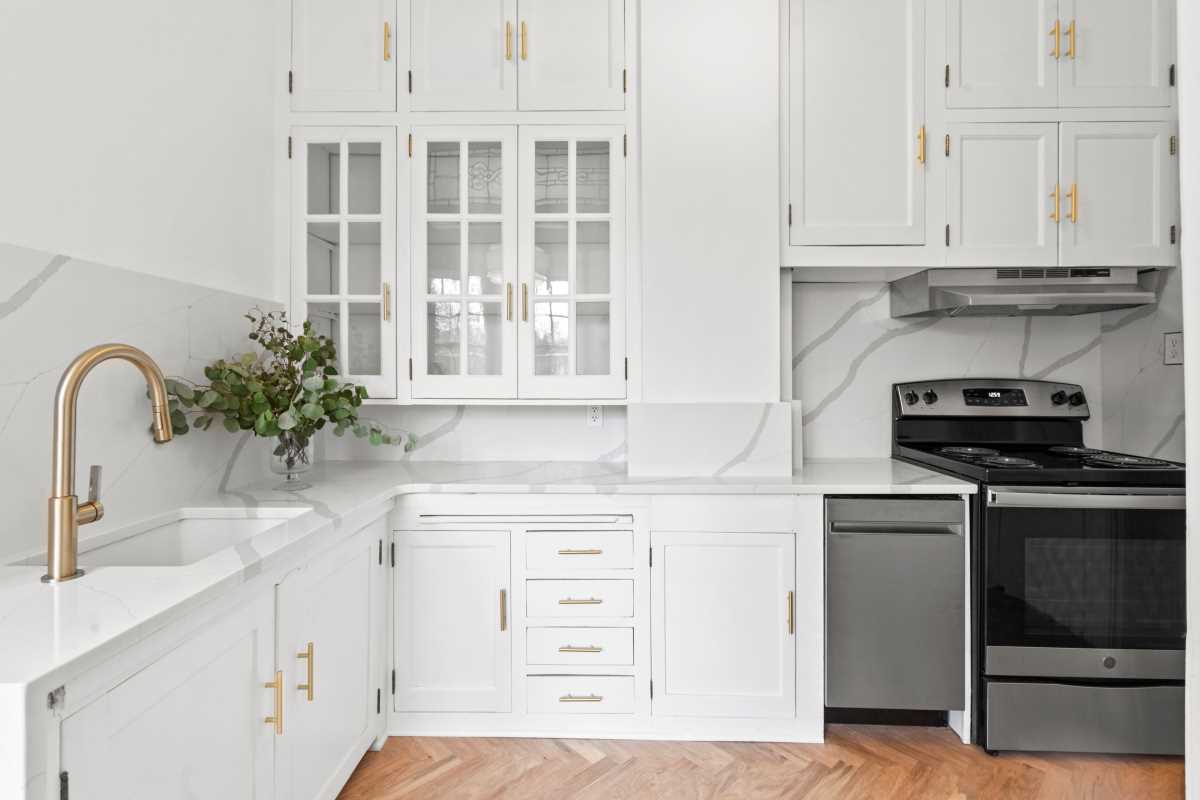
- For a trendy, glamorous look: Brass and gold hardware are incredibly popular and add a touch of warmth and luxury.
Installation Tips
If your new hardware has the same hole spacing as your old hardware, installation is as simple as screwing the new pieces on. If you are switching from knobs to pulls or changing the size of your pulls, you will have to drill new holes. To ensure your new hardware is perfectly aligned on every door and drawer, use a cabinet hardware jig. This adjustable template is an inexpensive tool that allows you to set your hole positions once and then replicate them perfectly across all your cabinets, ensuring a professional and uniform look.
Step 5: Reassembly and a New Beginning
After your final coat of paint has had ample time to cure (check the paint can, but this could be several days for maximum hardness), you can carefully reassemble your kitchen. Re-hang your doors, re-attach your drawer fronts, and install your beautiful new hardware.
Step back and take it all in. The long days of sanding and painting will fade away as you look at your transformed kitchen. You’ve not only saved a significant amount of money but also added immense value and personal style to your home. You’ve taken a space that was just functional and turned it into one that is truly inspiring.